
Achieving a balanced indoor thermal environment involves more than adjusting the thermostat. Homeowners often focus solely on heating and cooling units, ignoring the building envelope, thermal barriers, air distribution pathways, and mechanical systems. Compromising any component leads to inefficiencies, fluctuating temperatures, high utility bills, and uneven room temperatures. Most comfort issues stem from neglecting the house as a unified system. Upgrading mechanical units is ineffective if conditioned air escapes through poorly insulated spaces or unsealed walls. A whole-house approach is needed: fortify the exterior envelope, service regularly, recalibrate mechanical output, and balance thermal loads. A comprehensive maintenance strategy reduces energy consumption and extends infrastructure lifespan.
Inspect Flashings and Underlayment to Stop Thermal Uplift
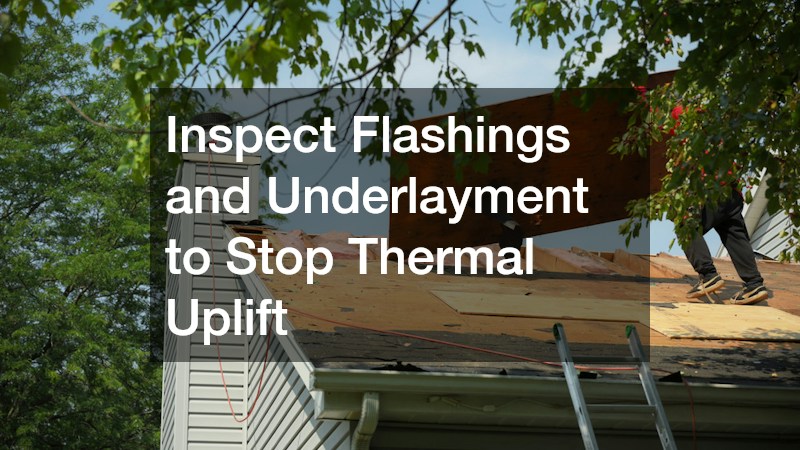
Understanding the mechanics of heat loss begins with the stack effect. As warm air rises within the home, it naturally seeks an escape route through the highest points of the structure, primarily the ceiling and attic. If the attic lacks proper ventilation or if the roof decking is compromised, this escaping warm air creates a vacuum in the lower levels of the house, pulling in frigid drafts through foundation gaps and basement sills. Conversely, during the summer, a poorly ventilated attic can trap radiant solar heat, turning the space into a thermal oven that radiates downward, severely compromising your cooling efforts.
- Perform semi-annual crawlspace and attic inspections, specifically looking for moisture stains on the rafters or the underside of the decking. Moisture degrades the R-value (thermal resistance) of blown-in cellulose or fiberglass batt insulation, rendering it highly ineffective.
- Evaluate your soffit and ridge vents to ensure that airflow paths remain completely unobstructed. It is common for loose insulation to shift over time, blocking soffit intakes and trapping stagnant, humid air inside the attic space.
- Triage any minor separations in flashing around chimneys, skylights, and vent pipes. Scheduling prompt roof repairs before wind-driven moisture can penetrate the underlayment is critical to maintaining a dry, highly insulating attic cavity.
Eliminate Exterior Wall Air Infiltration with Continuous Insulation
Exterior walls are highly susceptible to a phenomenon known as thermal bridging. Because wood framing studs conduct heat more readily than the insulation packed between them, thermal energy can easily bypass the cavity insulation, traveling directly through the wooden studs to the outside. This creates cold interior wall surfaces that drain heat from the room and cause discomfort, even when the thermostat is satisfied.
- Routinely inspect all exterior corner boards, window perimeters, and material seams for warping, loose panels, or signs of dry rot. These vulnerabilities allow wind-driven air to bypass the structural sheathing.
- When evaluating long-term envelope upgrades, consult a reputable siding company about the benefits of installing insulated vinyl or composite cladding paired with a modern, vapor-permeable housewrap. This adds a layer of continuous insulation across the exterior, effectively breaking the thermal bridge.
- Seal the critical expansion gap where the structural framing meets the concrete foundation sill plate. Using a high-quality acoustical sealant or polyurethane foam blocks ground-level draft intrusion and prevents moisture wicking.
Layer Insulated Barriers Over Vulnerable Window Glazing
Windows are notorious energy sinks, accounting for up to thirty percent of residential heating and cooling energy loss. Standard double-pane windows rely on a heavy gas fill, typically argon or krypton, suspended between the glass panes to slow the transfer of temperature. When the perimeter seals on these panes fail, the insulating gas escapes, drastically lowering the window’s efficiency.
- Inspect all window glazing for internal condensation or fogging, which is a definitive indicator that the perimeter seal has failed and the insulating gas has dissipated.
- Apply fresh, flexible silicone exterior caulk around the window casings annually to prevent wind from driving cold air behind the structural framing of the window unit.
- Enhance the insulating value of your windows from the inside by installing cellular honeycomb shades. This type of window treatment creates trapped pockets of dead air between the room and the glass, forming a highly effective barrier against conductive and convective drafts.
Seal Interlocking Thresholds in Attached Unconditioned Spaces
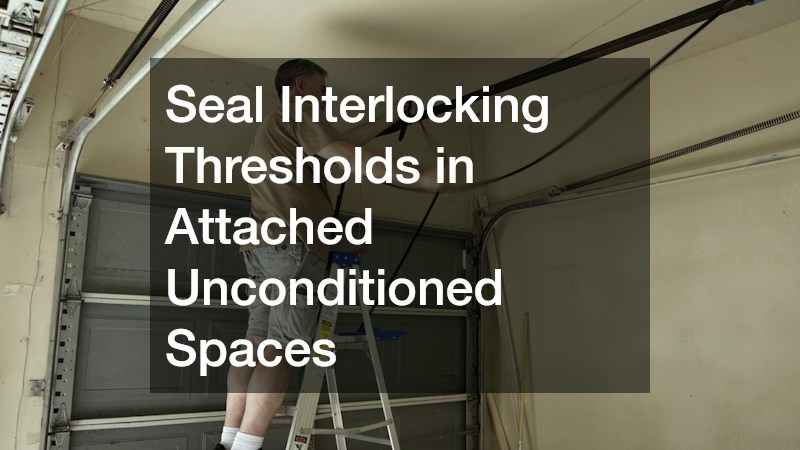
An attached garage acts as a massive thermal buffer zone. While it offers protection from direct wind and precipitation, it remains an unconditioned space that easily reaches freezing temperatures in the winter and sweltering highs in the summer. Because the garage shares common walls and sometimes ceilings with the primary living spaces, extreme temperatures in the garage will inevitably bleed into the home if the dividing boundaries are not fortified.
- Examine the bottom rubber astragal seal on your primary exterior garage door. Over time, this seal flattens, cracks, and degrades, allowing freezing wind to sweep across the concrete floor and drop the ambient temperature of the entire space.
- Inspect the perimeter vinyl weatherstripping along the door jambs for light leaks. If you can see daylight from inside the dark garage, cold air is infiltrating.
- Ensure the mechanical track operates smoothly. If the door binds or leaves gaps upon closing, bringing in a technician for a thorough garage door repair to realign the tracks, adjust the counterbalance springs, and replace worn rollers is essential for maintaining a tight exterior seal.
- Upgrade the entry door connecting the garage to the house to an insulated, solid-core exterior-grade door complete with a heavy-duty threshold sweep and interlocking weatherstripping.
Clear Accumulated Particulates to Restore Proper Static Pressure
Over years of operation, return air ducts pull in substantial amounts of microscopic debris. Pet dander, settling drywall dust, textile fibers, and general household particulates inevitably slip past standard air filters. As this debris accumulates along the inner walls of the ductwork, it creates a rough surface that increases internal friction. This friction slows down the velocity of the air, forcing the system’s blower motor to work harder to push the same volume of air, ultimately reducing the output at the supply registers.
- Systematically remove both supply and return vent grilles in every room to vacuum out immediate boot accumulation. Wipe down the register louvers and internal dampers with a damp microfiber cloth to remove sticky dust residue.
- Inspect all accessible flexible duct runs in unfinished basements, crawlspaces, and attics. Look for sharp kinks, sagging lines that restrict volume, or mastic tape joints that have dried out and detached.
- Consider scheduling a professional mechanical brush-and-vacuum duct cleaning every three to five years. This is especially vital following major interior home renovations that generate heavy particulate matter, as removing the internal buildup will dramatically lower friction losses and restore optimal cubic feet per minute output to the furthest rooms.
- Ensure that any unconditioned spaces housing ductwork are heavily insulated around the metal trunks to prevent conditioned air from losing its thermal energy before reaching the designated living spaces.
Conduct Static Pressure and Airflow Balancing Diagnostics
Total External Static Pressure is the measurement of all the resistance your blower motor must overcome to circulate air. High static pressure is one of the leading causes of premature equipment failure, resulting in cracked heat exchangers, frozen evaporator coils, and blown variable-speed motors. Addressing pressure issues is paramount for system longevity.
- Verify that your chosen air filters match your system’s capabilities. Installing ultra-restrictive, high-MERV filters on an older system can choke the return air supply, spiking static pressure and starving the blower of necessary airflow.
- Use a digital anemometer or a simple smoke-pencil test at distant room registers to objectively measure airflow velocity and detect hidden duct leakages behind the drywall.
- Hire reputable local hvac contractors to perform advanced system commissioning. They can utilize manometers to measure exact static pressure drops across the filter, coil, and heat exchanger, adjusting the multi-branch damper positions to perfectly balance the airflow distribution to every room in the house.
Diagnose Common Ignition, Sensor, and Blower Failures
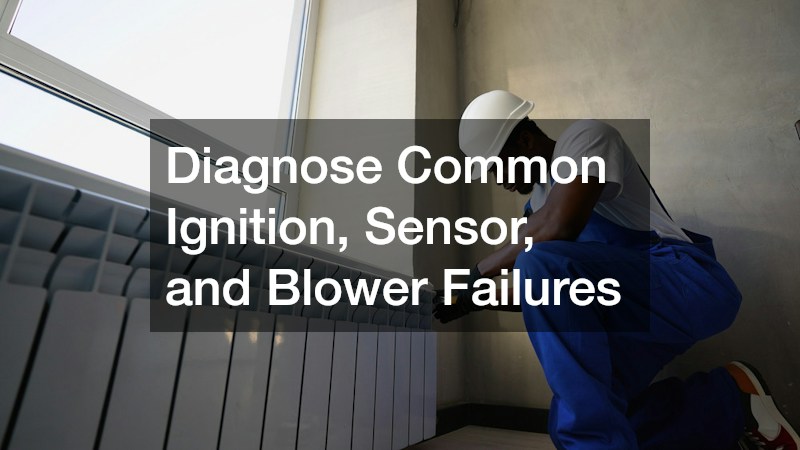
Catching mechanical degradation early is the key to avoiding freezing nights without heat. Modern systems are equipped with safety limit switches and diagnostic control boards that monitor everything from ignition sequencing to exhaust drafting. Learning to interpret the early warning signs of component fatigue allows you to address issues before they cause full system lockouts.
- Monitor the system for erratic thermostat cycling, delayed ignition booms (a sign of gas buildup before sparking), or burner flames that burn yellow and lazy instead of a crisp, sharp blue.
- Clean the flame sensor rod annually. A dirty sensor cannot accurately read the microamp current of the flame, causing the control board to immediately shut off the gas valve as a safety precaution, resulting in short-cycling.
- Test the blower motor run capacitor with a multimeter to ensure it is delivering the correct microfarad rating. A weak capacitor will cause the blower motor to struggle during startup, generating excess heat that destroys motor windings.
- When safety switches continuously trip or you detect faint combustion odors near the equipment room, immediately schedule a professional heating repair to diagnose potential heat exchanger cracks or failing inducer draft motors, ensuring safe operation.
Select Right-Sized High-Efficiency Replacements
When mechanical systems age past their functional lifespan—typically fifteen to twenty years—repair costs often begin to outweigh replacement benefits. However, a successful upgrade requires exact calculations. Oversizing a new system is a common mistake that leads to severe temperature swings, incredibly poor indoor dehumidification, and premature wear due to constant on-and-off short-cycling.
- Demand a formal Manual J residential load calculation before purchasing new equipment. This calculation accounts for your home’s upgraded insulation, window quality, and exact square footage to determine the precise British Thermal Unit (BTU) requirement.
- Evaluate the benefits of stepping up from a standard atmospheric venting system to a sealed-combustion, dual-stage condensing unit. These high-tier units utilize secondary heat exchangers to extract maximum thermal energy from exhaust gases, resulting in exceptional efficiency ratings.
- Plan your major equipment transitions proactively. Booking a comprehensive furnace installation during the transitional shoulder seasons of spring or early autumn guarantees better contractor availability, ensures more meticulous installation practices, and often opens the door to significant manufacturer and utility rebates.
Flush Mineral Sediments and Regulate Thermal Storage Demands
Domestic water heating accounts for a massive portion of a household’s annual energy consumption. Over time, dissolved minerals in the municipal or well water supply precipitate out of the liquid during the heating process. These calcium and magnesium deposits settle at the bottom of the storage tank, forming a thick, rock-like layer of scale. This scale acts as a stubborn thermal barrier between the burner assembly and the water, forcing the system to consume drastically more energy to achieve the target temperature.
- Execute a full tank flush annually via the bottom drain valve to systematically purge the accumulating calcium carbonate sediment. Doing so restores direct heat transfer and stops the system from overworking.
- Manually trip the temperature and pressure relief valve to ensure it actuates smoothly and reseats cleanly without continuous weeping. This is a critical safety mechanism that prevents catastrophic pressure explosions.
- Wrap all exposed hot-water delivery pipes running through unconditioned basements with closed-cell polyethylene foam insulation. This minimizes standby heat loss and allows hot water to reach distant fixtures much faster.
- When storage tanks begin to show external rust or structural fatigue, consult an expert in water heater service and installation to evaluate whether transitioning to an on-demand tankless system or a highly efficient hybrid heat pump model suits your household’s peak usage demands.
Maintain Fuel Tank Integrity and Burner Combustion Ratios
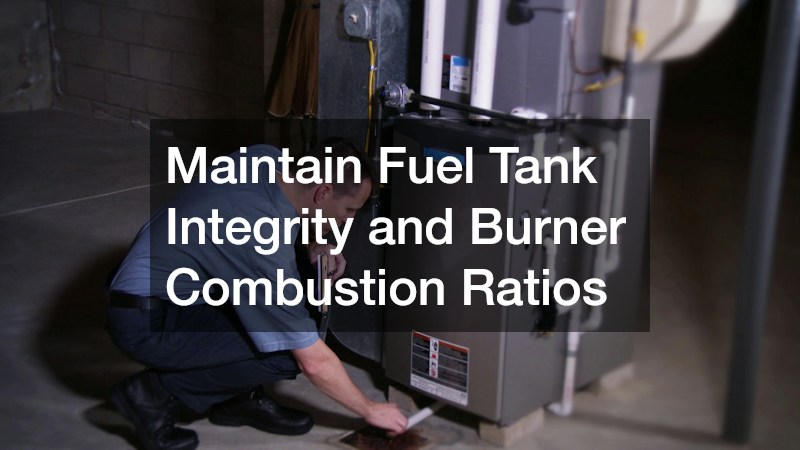
For homes operating on hydronic boilers or forced-air systems powered by liquid fuels, the integrity of the storage tank and the quality of the fuel itself are paramount. Environmental factors like temperature fluctuations cause condensation to form on the inside walls of partially empty tanks. This moisture sinks to the bottom, promoting the growth of microbial sludge that clogs delivery lines, ruins inline filters, and destroys the delicate atomization nozzles inside the burner assembly.
- Inspect aboveground storage tanks thoroughly for blistered exterior paint, weeping at the welded leg seams, and functioning vent whistles that signal when the tank is safely filled to capacity.
- Change the inline fuel filter cartridge and carefully clean the pump strainer ahead of every primary winter heating season to guarantee unrestricted fuel flow to the burner assembly.
- Schedule regular tune-ups to calibrate the fuel-to-air combustion ratio. A burner that is running too rich will produce heavy soot, quickly insulating the heat exchanger and plummeting the system’s efficiency.
- Coordinate automatic, weather-adjusted delivery schedules to ensure your tank remains topped off. Utilizing premium heating oil that is pre-blended with chemical cold-flow improvers is highly recommended to prevent the liquid from gelling in the outdoor lines during extreme, deep-freeze weather conditions.
Achieving unparalleled indoor climate control requires consistent, methodical maintenance treating the home as an interconnected thermal ecosystem. Addressing minor perimeter air leaks, routine mechanical tune-ups, and structural envelope upkeep work together to deliver consistent indoor comfort. Implementing a structured seasonal framework is crucial to prevent degradation. In spring, focus on exterior cladding inspections, foundation caulking, and cooling system diagnostics for summer. In autumn, prioritize mechanical combustion safety checks, ductwork pressure testing, thermal window barriers, and securing winter fuel reserves. Shifting from reactive spending to proactive preservation protects your building’s equity, lowers utility costs, and ensures a comfortable living environment regardless of the weather.